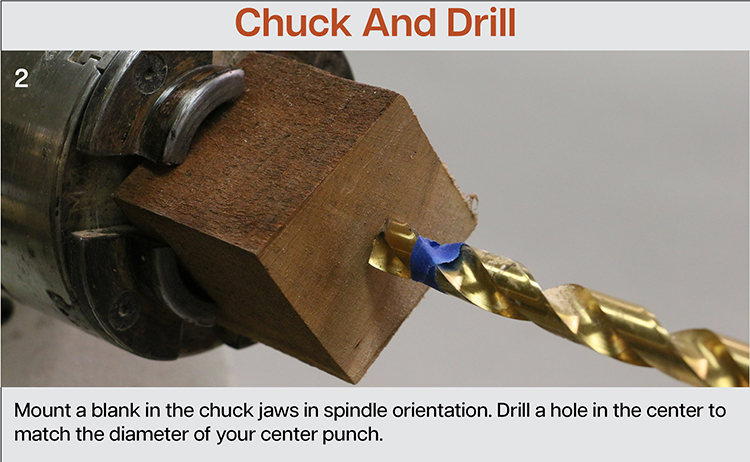
Drill The Blank
Start with a 2"- (5cm-) cubed hardwood blank secured in a four-jaw chuck with the grain parallel to the lathe bed (spindle orientation) (Photo 2). Use a 1/2" (13mm) twist drill in a drill chuck to drill a 3/4"- (19mm-) deep hole. Check the diameter of your punch to see if you need a different diameter drill.
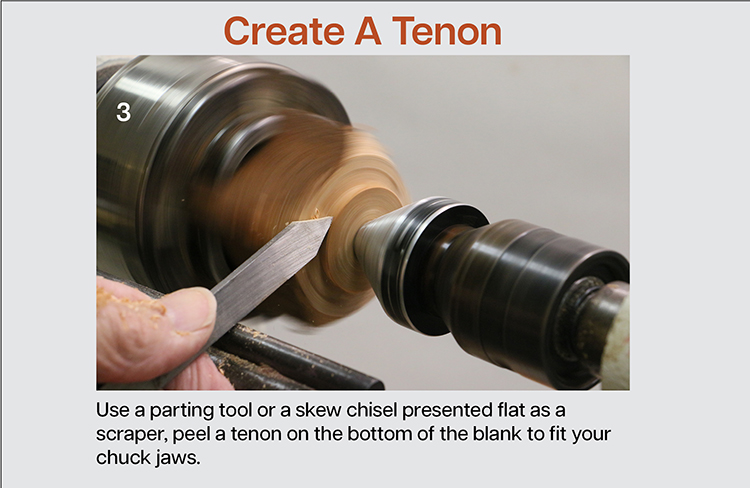
Peel a Tenon
Bring up the tailstock and live center. Using a parting tool, peel a tenon on the tailstock side to fit your four-jaw chuck (Photo 3).
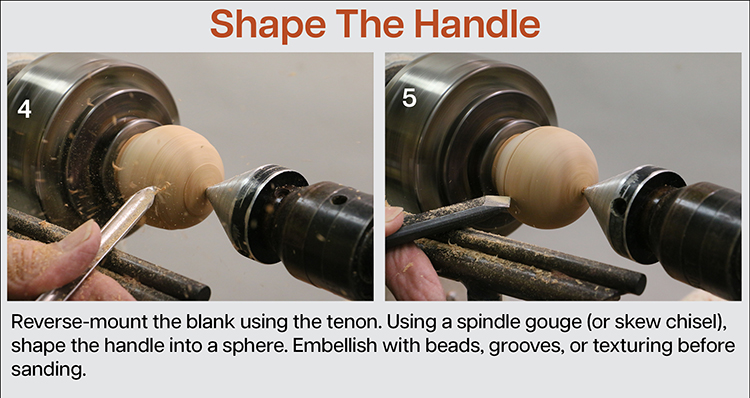
Shape The Handle Top
Remount the blank in the chuck and use a spindle gouge to turn a sphere (Photo 4). Adding beads or grooves is optional, but such surface embellishment can improve the security of your grip on the tool (Photo 5). A little bit of embellishment can improve function; too much can be distracting. Sand the outside; 150- or 220-grit is about right for a handle surface.
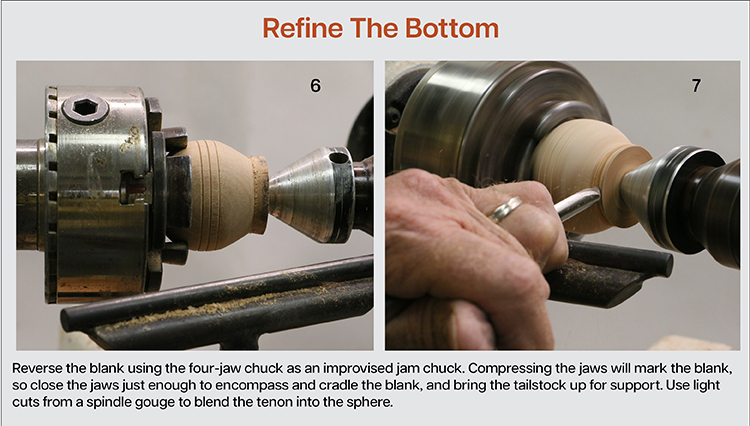
Refine The Handle Bottom
Reverse the blank in the chuck. You can use the chuck jaws as a jam chuck if you bring up the tailstock and live center for support (Photo 6). Don’t try to compress the jaws around the handle—you’ll only end up marring the surface. Instead, rest the top of the handle against the jaws. You can sandwich a scrap of foam or leather between the handle and jaws as added insurance against damage.
Use a spindle gouge to remove the tenon and round the bottom (Photo 7). Sand and finish as desired.
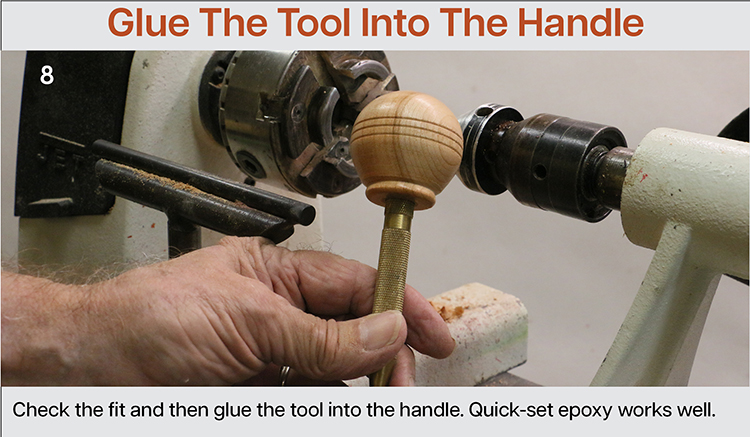
Unite Handle and Tool
Glue the top of the center punch into the 1/2" hole and you now have a palm saver (Photo 8).
About the Author:
Walt Wager has been turning for twenty-two years and taught for eight years at Camelot’s Woodworking Studio in Tallahassee, Florida. He offers interactive remote demonstrations via Zoom and private lessons in his shop in Monticello, Florida. Walt can be contacted through his website, waltwager.com.